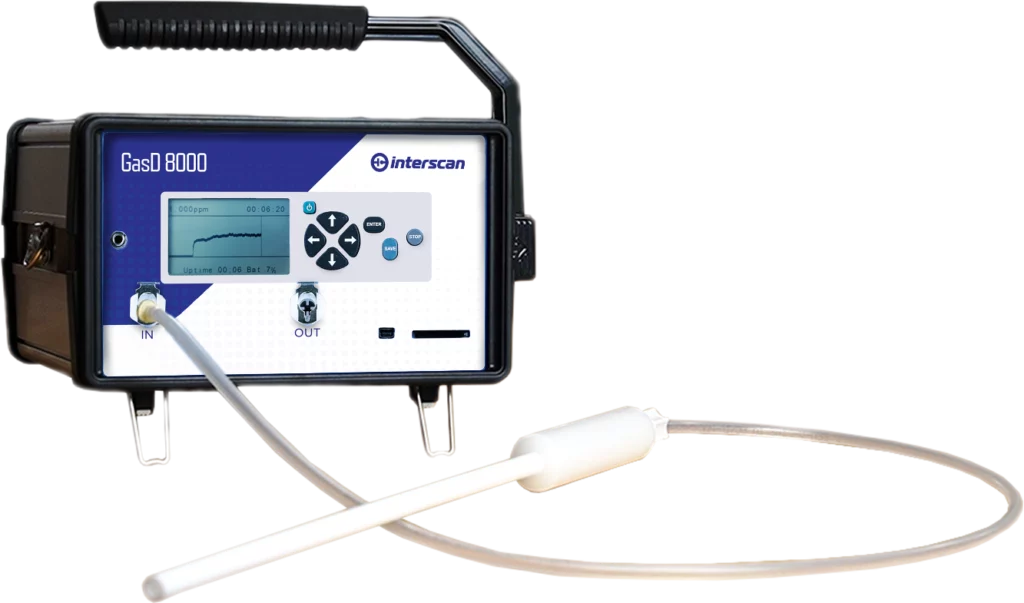
Trace Level Accuracy Through Active Sampling
Detect even the slightest levels of gas, quicker than any passive device on the market.
Learn How Active Sampling Can Work for You
The Importance of Active sampling
Active sampling in gas detectors provides precise control over the air volume entering the sensor, ensuring rapid detection and accurate readings of gas concentrations, unlike passive sampling which relies on natural air movement and may result in slower response times and less reliable data.
HOW CAN ACTIVE AIR SAMPLING HELP?
Why is active sampling necessary?
Don’t be late
to the alert
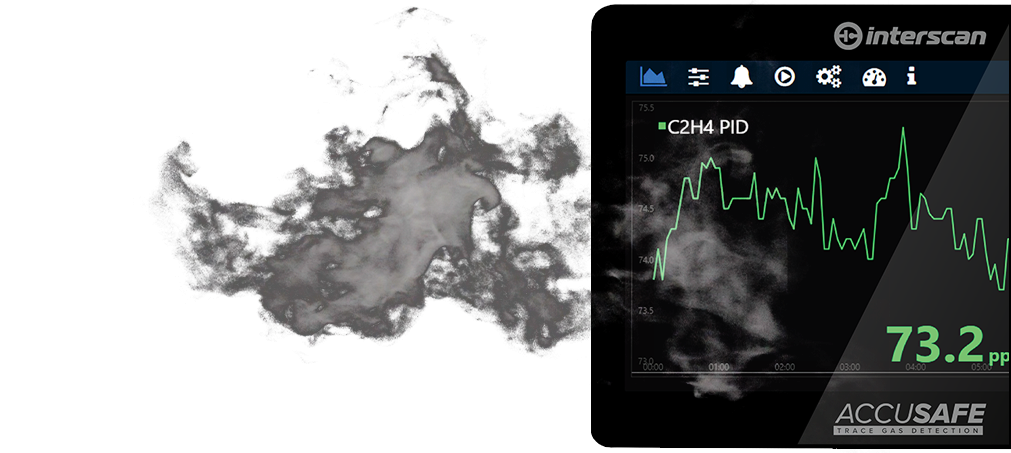
- Precision at Your Fingertips: Active sampling guarantees precise and reliable air quality readings, outperforming passive sampling’s unpredictable nature with accuracy.
- Speed Saves: In the race against time, active sampling is your swift guardian. It quickly senses hazardous gases before they pose a threat
- Access the Inaccessible: Active sampling accesses hard- to-reach areas with ease, providing a comprehensive view of air safety where passive sampling falls short.

COMMON QUESTIONS
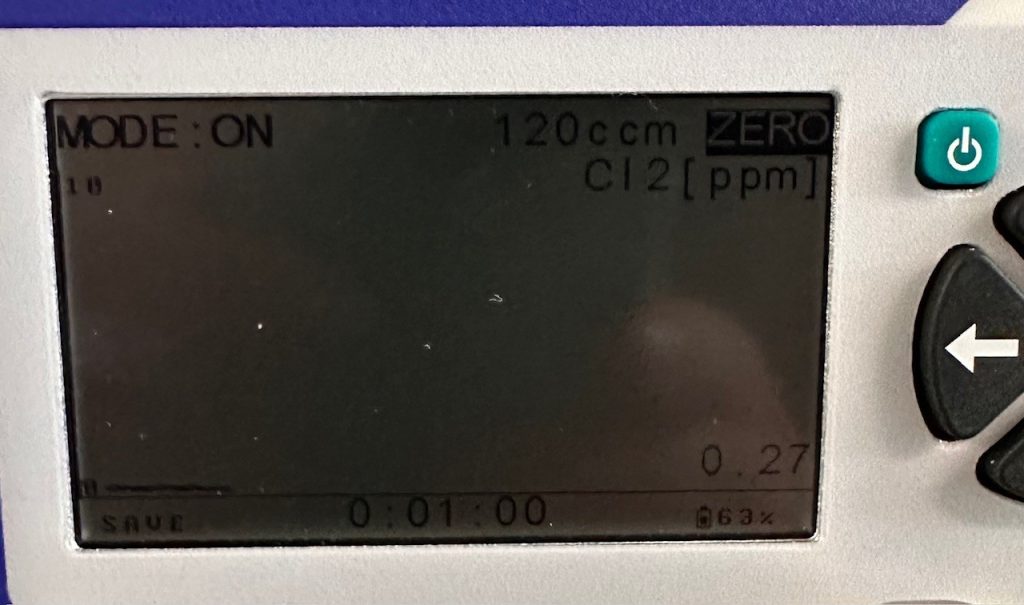
If the pump was turned on and the sampling mode is set to “CON” (See FAQs), but measurements are still reading Zero, it may be necessary to reset the zero on the device to restore measurement accuracy. (is possible that the zero was inadvertently reset while the instrument was stabilizing and thus measurement below that “new zero” will always read zero)
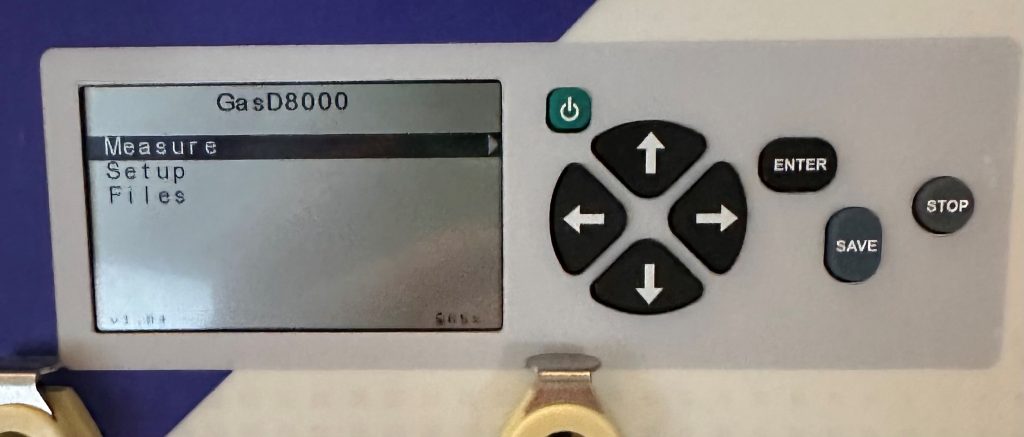
To reset zero : The instrument should be in an environment without any analytes, then power the instrument. Measure will be highlighted. Press the right-arrow and then press Enter. The instrument display should say “Mode:On”.
Let the instrument stabilize for 30 minutes.
After 30 minutes , press the up-arrow button to Highlight Zero and press Enter. This will establish a new zero for the instrument sensor.
Press the Stop button.
Expose instrument to the target gas to confirm the new zero is established and non-zero readings are present. (If your instrument is still reading zero, then please contact our technical support department)
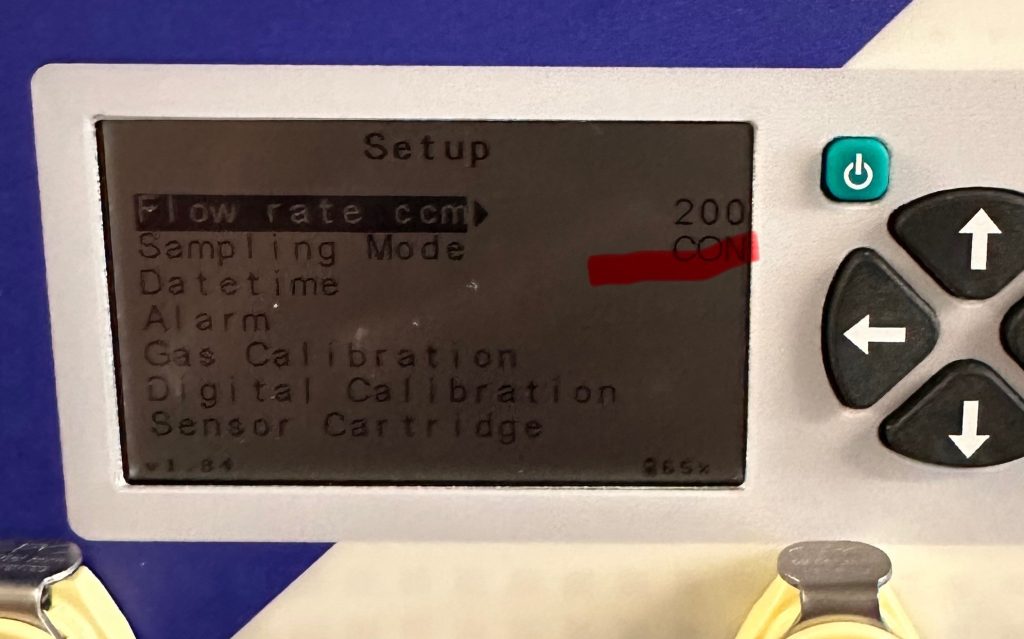
If the sampling mode is not set to “CON”, press the down-arrow to highlight Sampling Mode, then press the right-arrow. Then use the up and down arrow to scroll to highlight CON
Power off the instrument.
Power the instrument back on. Measure will be highlighted. Press the right-arrow and then press Enter The device should be begin measurement
For accurate readings, the pump must be on while measuring. When you enter Measure-mode, the default is “Mode: Off “ (this means the pump is off) With measure mode “off”, it may appear like the instrument is measuring, but it is not measuring actually. (If the pump is off the display will read Mode: Off as shown below)
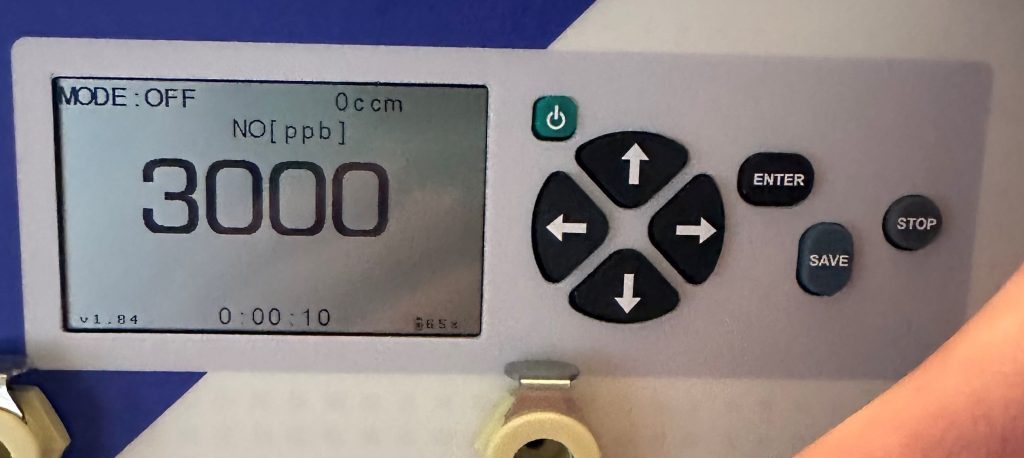
To turn the pump on, from main menu with MEASURE highlighted, press the Right Arrow and press Enter The display should read “Mode:On” and now your device is actively measuring. This is process should be used each time a measurement is taken. If pump was previously “off”, then once the pump is turned-on, the user can confirm that the instrument is measuring gas.